 For an 11 year old's birthday party, the preparations can be tricky. A long way past the many cartoon characters and children's favourites that adorn the majority of party supplies, they still want to have fun and enjoy themselves. When I went shopping for party bags and supplies, I was disappointed at the high cost, limited range available to buy. In the end, I went my own way, with a design for home made party bags, which I think have a lot more appeal and work out around £1 each, although you could probably reduce this further, by shopping in advance and grabbing some bargains, instead of leaving it until the day before, like me!
When I looked at the 'loot bags' you can buy in the shops, I felt they looked very unimaginative and a little young for the age group too. Then, I spotted a pack of large plastic drinking cups, for just £1, which gave me an idea. These slightly more impressive party favours would also be perfect for weddings, or other celebrations for children or adults, by simply changing the contents, depending on the type of party guests attending.
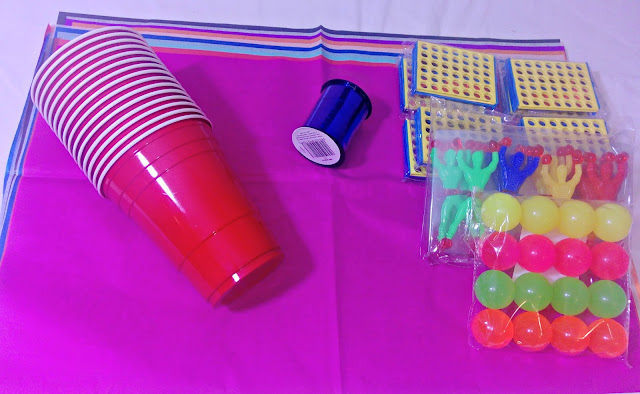
Firstly, you will need;
- Sheets of Coloured Tissue Paper
- Large Plastic Drinking Cups
- Contents: sweets, small toys, etc.
- Curling Ribbon
I used a whole sheet of tissue paper for each cup, in order to create a fairly dramatic top knot effect! Fortunately, you can buy the sheets in packs very cheaply. I bought mine in Asda for 50p, but they were in a sale, I think they are normally about £1. Place your cup in the centre of the sheet of tissue paper and add your contents.
I got all of the toys and sweets from Asda, where they have a good range of party bag fillers, most of which are 3 packs for £5. Once you have added the contents and are happy with them, it's time to create the fountain effect, by gathering the corners of the tissue paper together and tying with a 90cm length of curling ribbon. You don't have to be too neat about this, the curling ribbon will pull it all together so that it looks tidy anyway. Just be careful to tie the ribbon very gently, so as not to tear the paper. Once you have the ribbon in place and you are happy with how it looks, tie a firm knot and then curl the ribbon by holding the side of your scissors firmly against it, and pulling all the way to the end of the ribbon.
I think the end result looks a lot better than a limp plastic bag and all the party guests (and parents!) seemed pretty happy with them too. I thought they looked quite decorative all lined up together and if you were making them for a wedding, or themed party, it would be very easy to coordinate the colours. They are so easy to do, it's a real time and money saver.
I think the end result looks a lot better than a limp plastic bag and all the party guests (and parents!) seemed pretty happy with them too. I thought they looked quite decorative all lined up together and if you were making them for a wedding, or themed party, it would be very easy to coordinate the colours. They are so easy to do, it's a real time and money saver.


very creative
ReplyDeleteThank you!
DeleteThese are great Lucy and you have saved so much money making them!
ReplyDeleteThank you. It was a bit of a mad idea, while I was in Asda!
Delete